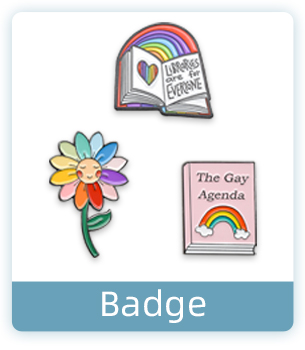
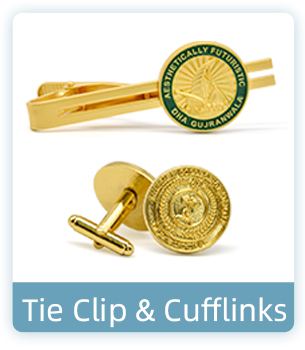
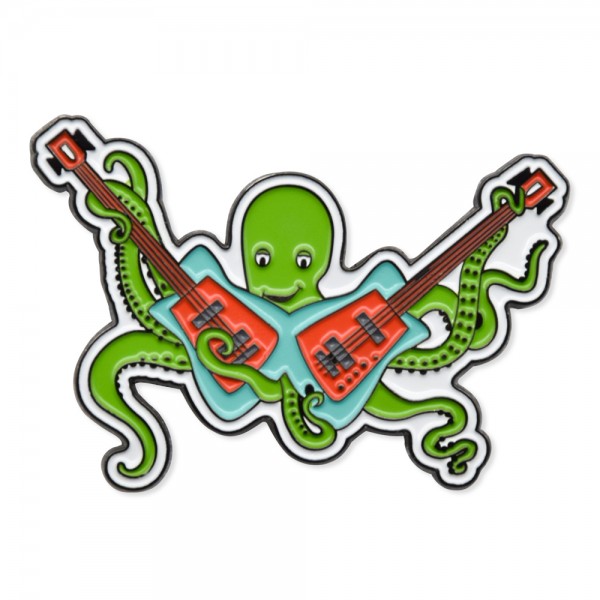
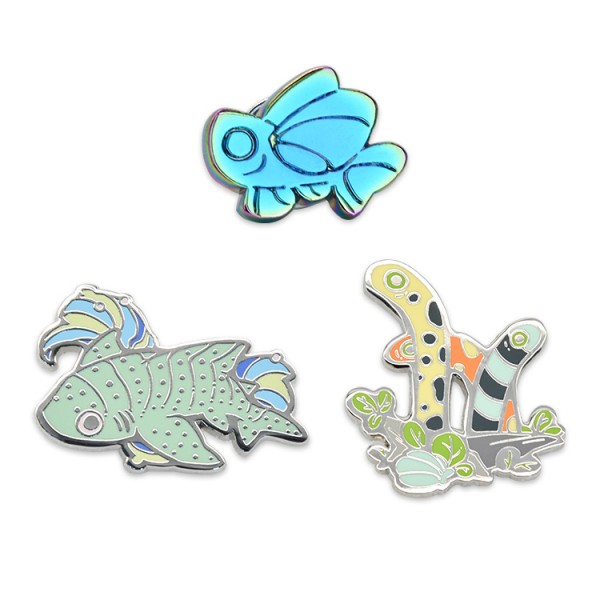
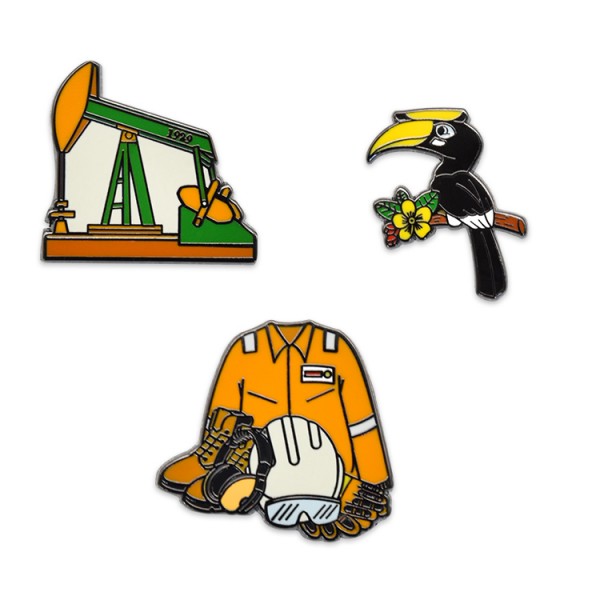
Bulk Enamel Pin Cute Cartoon Metal Lapel Pin Badge No Minimum Order
* Bulk Enamel Pin Cute Cartoon Metal Lapel Pin Badge No Minimum Order
Customized Badge Description
|
Material |
Zinc Alloy, Brass, Iron, Stainless Steel and so on |
|
Craft |
Soft Enamel, Hard Enamel, Offset Printing, Silk Screen Printing, Die Struck, Transparent Color, Stained Glass and so on |
|
Shape |
2D, 3D, Double Side and Other Custom Shape |
|
Plating |
Nickel Plating, Brass Plating, Gold Plating, Copper Plating, Silver Plating, Rainbow Plating, Double Tone Plating and so on |
|
Back Side |
Smooth, Matte, Special Pattern |
|
Accessories |
Butterfly Clutch, Badge Pins |
|
Package |
PE Bag, Opp Bag, Biodegradable OPP bag and so on |
|
Shipment |
FedEx, UPS, TNT, DHL and so on |
|
Payment |
T/T, Alipay, PayPal |
Keychain Tips
How To Design Cute Cartoon Lapel Pin?
1. CTRL + N Create a new image, 21cm.21cm, the resolution is 300px, ok.
2. Create a new layer, hold down the U Ellipse Tool (U), hold down the Shift key, and click to create a circle. Double click on this layer, add layer style, gradient overlay, 0 above RGB:(255 186 0), 100 above RGB:(255 225 0); Increase the bevel emboss, size, depth, turn off the overall view, adjust the opacity in shadow mode, the dark part becomes bright point, increase the shadow, also adjust the opacity above.
3. Create a new layer, press U Ellipse Tool (U), Path, hold down Alt + Shift, draw a perfect circle path, press B White, soft circle, adjust brush size, press Alt + Enter for quick Path Stroke, press U Enter to end path, add mask, make foreground color black, press B Brush, Set the opacity of the property bar to 70%. Draw it three times from the top to make a gradient.
4. Drag pictures in and position them. (You can choose the pattern in the middle)
5. Create a new layer, press u Ellipse Tool (U) to draw a circle and path, press T, place the cursor over the path to create a curve, and click the left mouse button to write on the path.
6. Create a new layer on top, press Brush B, right click, soft round brush, set the opacity in the properties bar to 70%, hold down Shift and drag from left to right to create a white gradient, create a new layer, press T and enter the text.


1200_013.jpg)
